Save big on solar gadgets today!
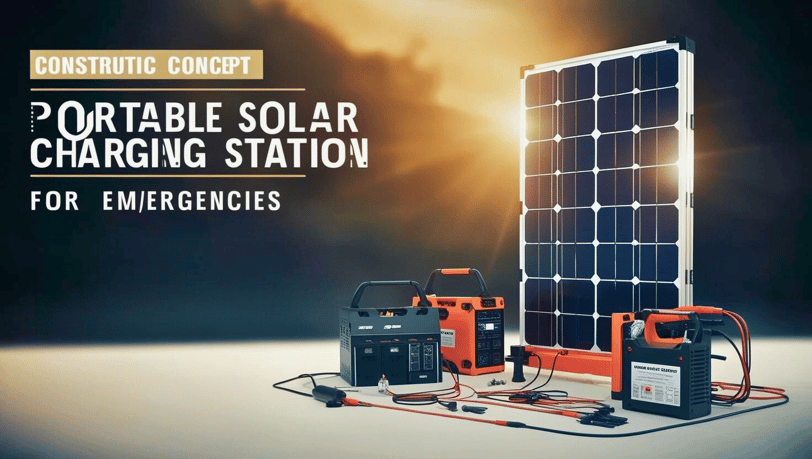
How to Build a Portable Solar Charging Station for Emergencies


Introduction
Picture this: the power goes out unexpectedly — but you’re calm, connected, and fully charged. 🌞🔋
With a portable solar charging station, you can keep your essential devices powered during blackouts, camping trips, or any emergency — all using the free energy of the sun!
The best part? Building one is easier than you think, and it’s an amazing DIY project for anyone who loves a little independence (and hates being stuck without power).
Let’s walk through how to build your own portable solar charging station step-by-step!
Why Build a Portable Solar Charging Station?
Stay Connected During Emergencies: Keep phones, radios, and small devices charged.
Eco-Friendly: No gas, no fumes, no noise — just clean solar energy.
Portable and Lightweight: Easy to store, move, and deploy when needed.
Cost-Effective: Much cheaper than buying a full solar generator setup.
Fun DIY Project: Learn valuable skills while building something practical!
What You’ll Need (Materials List)
✅ Small Solar Panel (20W–100W) — depending on your charging needs
✅ Charge Controller — protects your battery from overcharging
✅ Deep Cycle Battery or Portable Power Bank — to store energy
✅ DC to USB Converter — for phone and gadget charging
✅ 12V Output or Inverter (Optional) — if you want to power small AC devices
✅ Waterproof Storage Box or Sturdy Tote — to house everything safely
✅ Cables, Connectors, and Fuses — for safe wiring
✅ Basic Tools — wire cutters, screwdriver, drill
Optional:
Wheels/handles for easier transport
Built-in flashlight or emergency radio
Step-by-Step: How to Build It
Step 1: Mount Your Solar Panel
Choose a lightweight, portable solar panel that folds or can be propped up easily.
If your panel doesn’t already have a stand, attach it to a small frame or foldable legs for stability.
Step 2: Set Up the Storage Box
Use a durable plastic tote or waterproof case.
Inside, secure your battery, charge controller, and USB/DC outputs neatly to avoid shifting when you move the box.
Tip:
Drill small holes for ventilation and cable pass-throughs — and seal edges with rubber grommets or weatherproof tape.
Step 3: Connect the Solar Panel to the Charge Controller
Use the provided MC4 connectors (or adaptors) to wire your solar panel to the input side of your charge controller.
Important: Always connect the battery to the charge controller before connecting the solar panel!
Step 4: Connect the Charge Controller to the Battery
Carefully connect the output side of the charge controller to your deep cycle battery.
Positive (red) to positive
Negative (black) to negative
Use appropriate fuses for safety!
Step 5: Set Up Device Charging Ports
Attach a USB/DC output device (many are plug-and-play) to the battery or charge controller.
You can now charge phones, tablets, radios, LED lights, and more directly from your solar station!
Step 6: Test Everything
Place the panel in the sun, check that the battery is charging, and plug in a device to make sure it works.
If all systems are good — congratulations! You’ve built your own portable solar charging station!
Bonus Upgrades
Add an Inverter: Power small AC appliances like a laptop or mini fan.
Add a Battery Monitor: Keep track of your battery’s health and charge level.
Include Solar Lights: Install USB-powered LED lights inside the box for nighttime use.
Final Tips for Best Performance
Use Efficient Solar Panels: Monocrystalline panels work better in varied sunlight.
Protect Your Battery: Never overcharge or drain it completely.
Keep It Portable: Stick to lightweight materials if you plan to move it often.
Store It Ready: Keep the battery topped up so it’s ready to use at a moment’s notice.
Final Thoughts
Building a portable solar charging station is one of the smartest (and most empowering) DIY projects you can tackle in 2025.
It’s affordable, practical, eco-friendly — and it gives you peace of mind knowing you’re ready for whatever life throws your way. 🌞🔋
So grab your tools, soak up some sunshine, and start building — your future self will thank you!